Users and Roles
Roles
A role decides:
- which menus a user sees;
- whether the user is an administrator;
- how big a discount the user may give without approval.
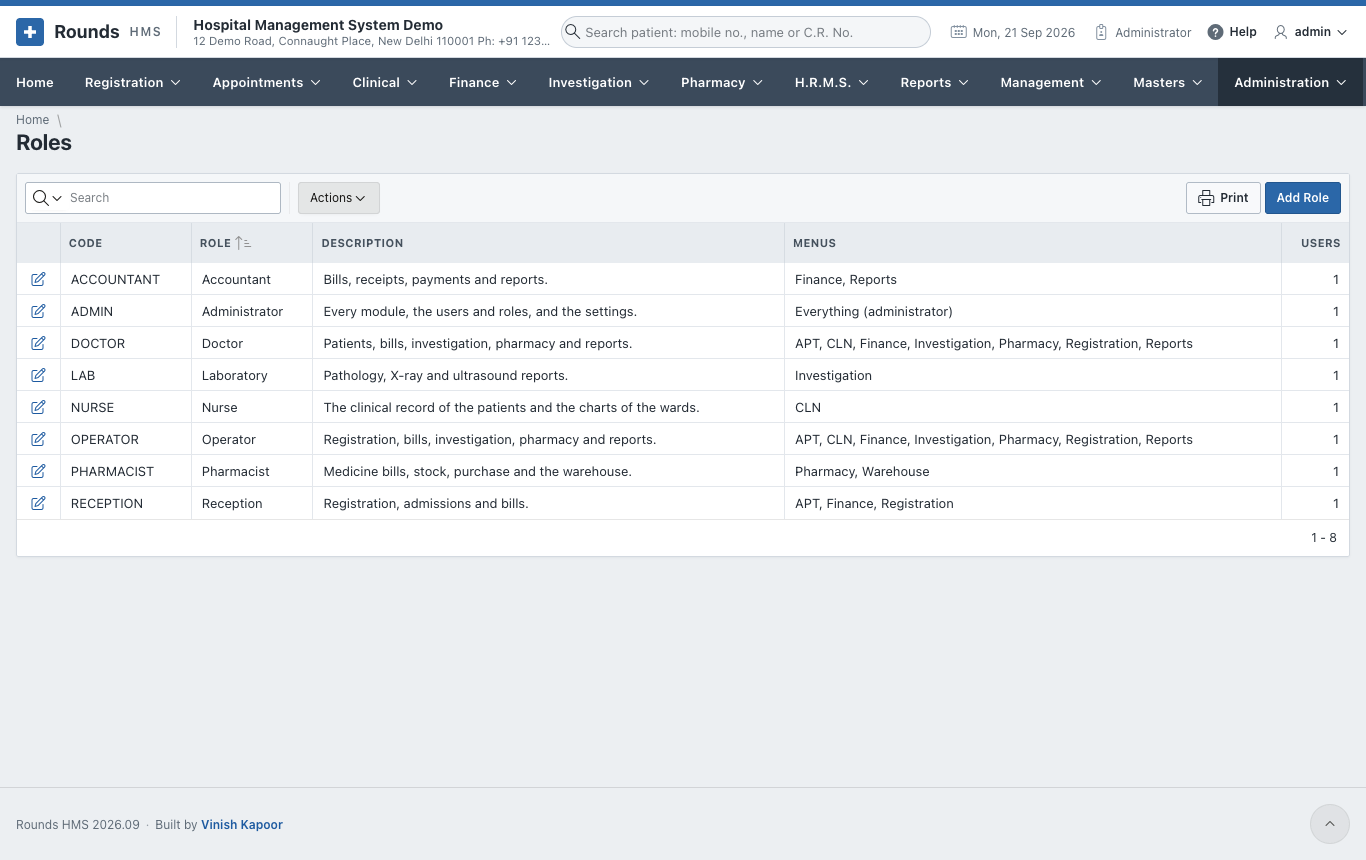
Administration > Roles lists the roles and how many users hold each:
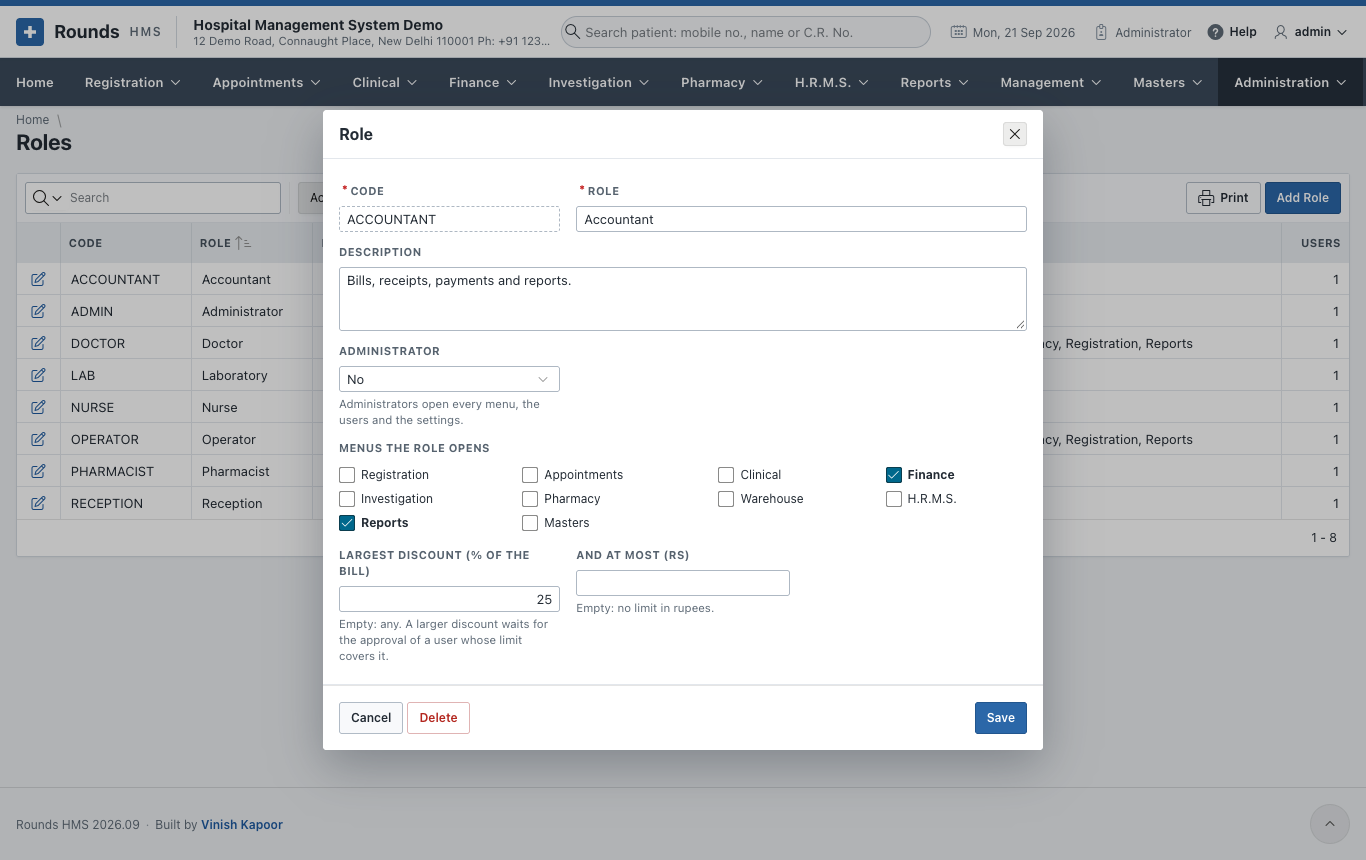
| Field | Meaning |
|---|---|
| Code and Role | the short code and the name, e.g. RECEPTION / Reception |
| Description | what the role does |
| Administrator | Yes opens every menu, the users and the settings |
| Menus the role opens | tick the menus: Registration, Appointments, Clinical, Finance, Investigation, Pharmacy, H.R.M.S., Masters, Reports ... |
| Largest Discount (% of the bill) | empty: any discount. A larger discount waits for the approval of a user whose limit covers it (Discount Approvals). |
| And at Most (Rs) | a limit in rupees as well; empty: no limit in rupees |
The roles supplied are Administrator, Reception, Operator, Accountant, Pharmacist, Laboratory, Nurse and Doctor. Change them to fit the hospital, or add your own.
Application Users
Administration > Application Users lists everyone who signs in:
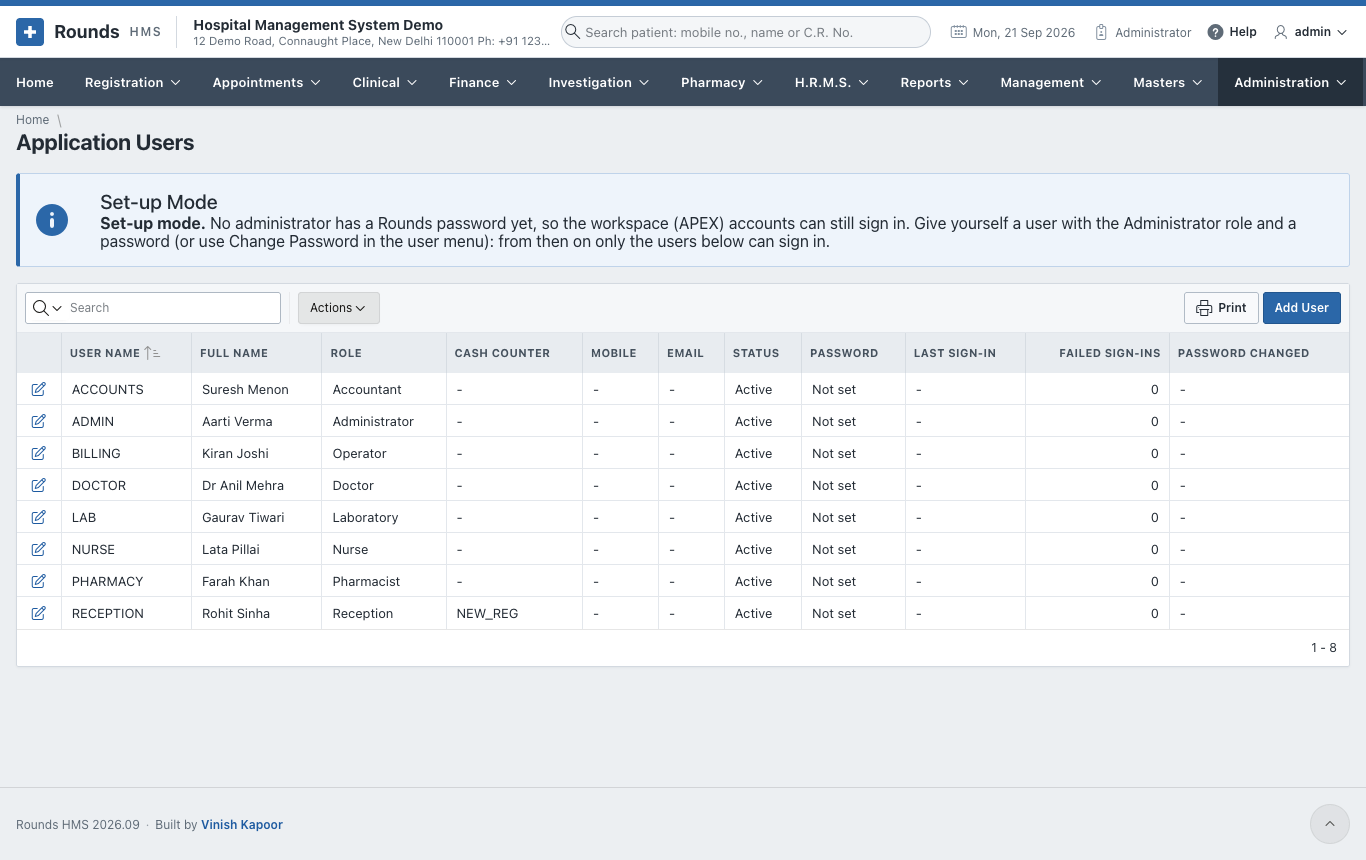
Set-up mode
Until an administrator has a Rounds password, the workspace (APEX) accounts can still sign in, so that nobody is locked out while setting up. Give yourself a user with the Administrator role and a password. From then on, only the users of this list can sign in.
Add User, or the pencil of a user:
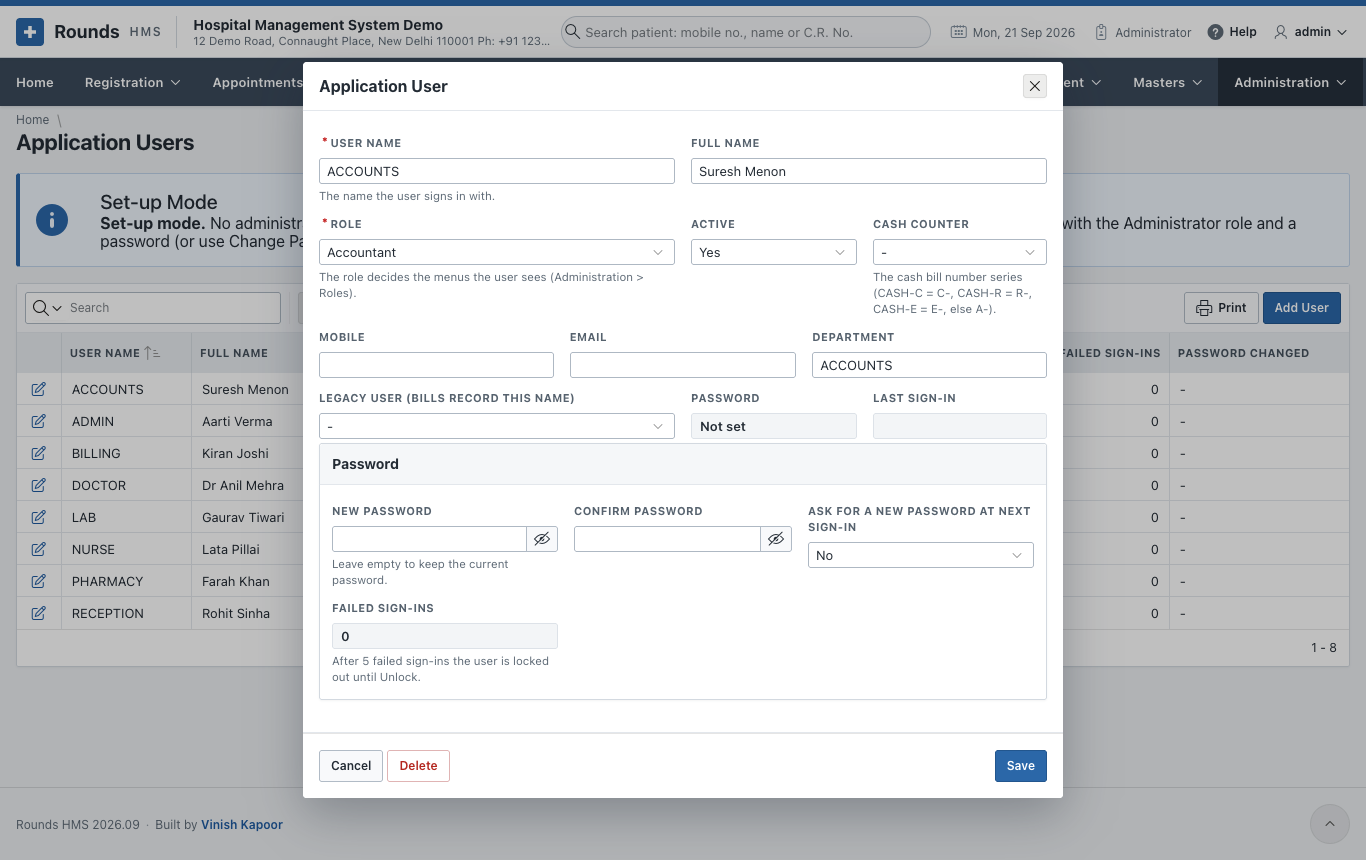
- User Name: the name the user signs in with.
- Full Name, Mobile, Email and Department.
- Role: the menus the user sees.
- Cash Counter: the series of the cash bill numbers. CASH-C gives bills C-..., CASH-R gives R-..., CASH-E gives E-...; any other counter gives A-...
- Legacy User: the name bills record, when the user also worked in the old system.
- Active: No stops the user signing in, and keeps their history.
- Password:
- New Password and Confirm Password; leave them empty to keep the current one;
- Ask for a New Password at Next Sign-in: the user must choose their own the first time.
- Click Save.
After 5 failed sign-ins a user is locked out. Failed Sign-ins shows the count, and Unlock lets them in again.
Change Password
Every user changes their own password from the user menu (their name at the top right) > Change Password:
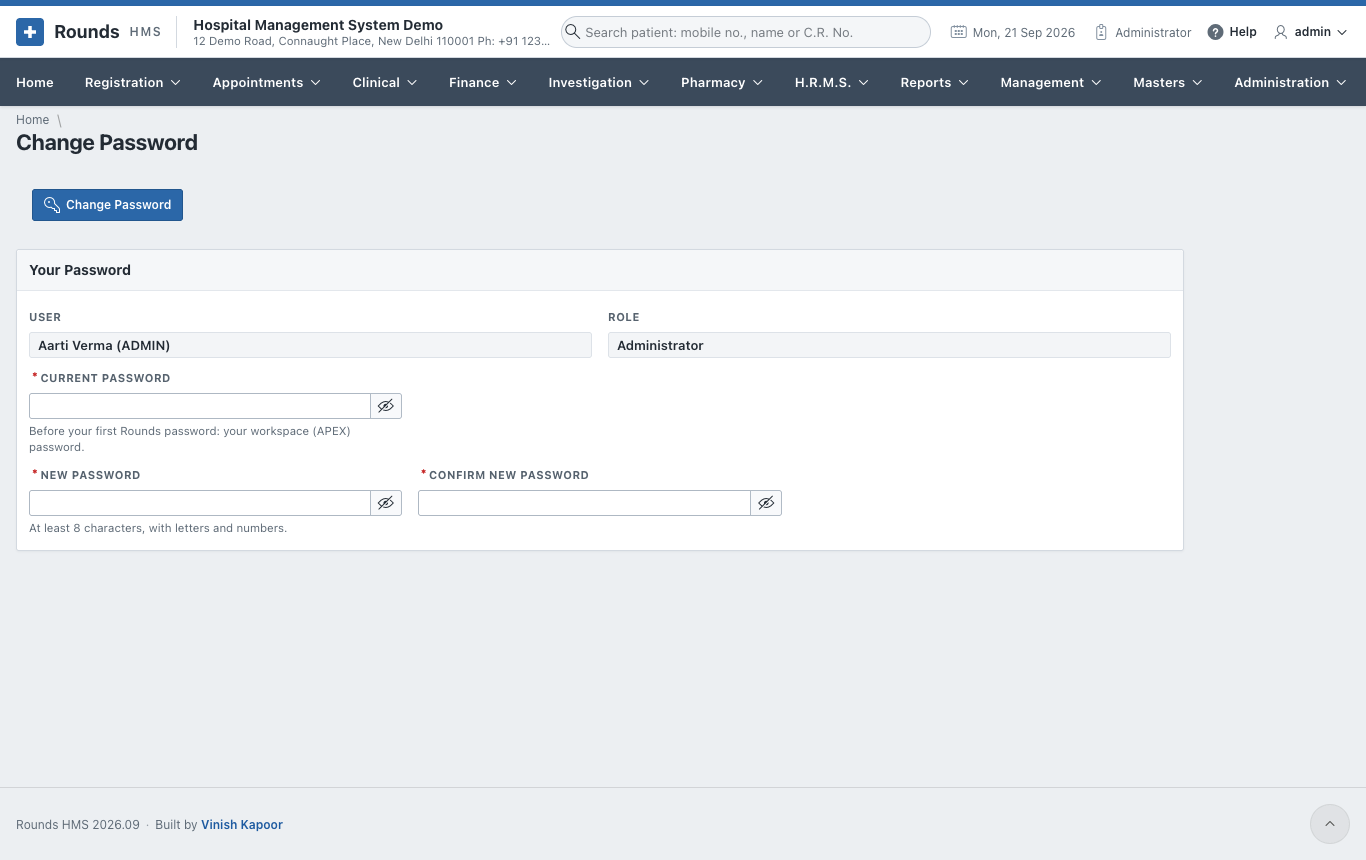
- Current Password.
- New Password: at least 8 characters, with letters and numbers.
- Confirm New Password, then Change Password.
A user whose password was set by the administrator is taken to this page after signing in, until they choose their own.
Login History
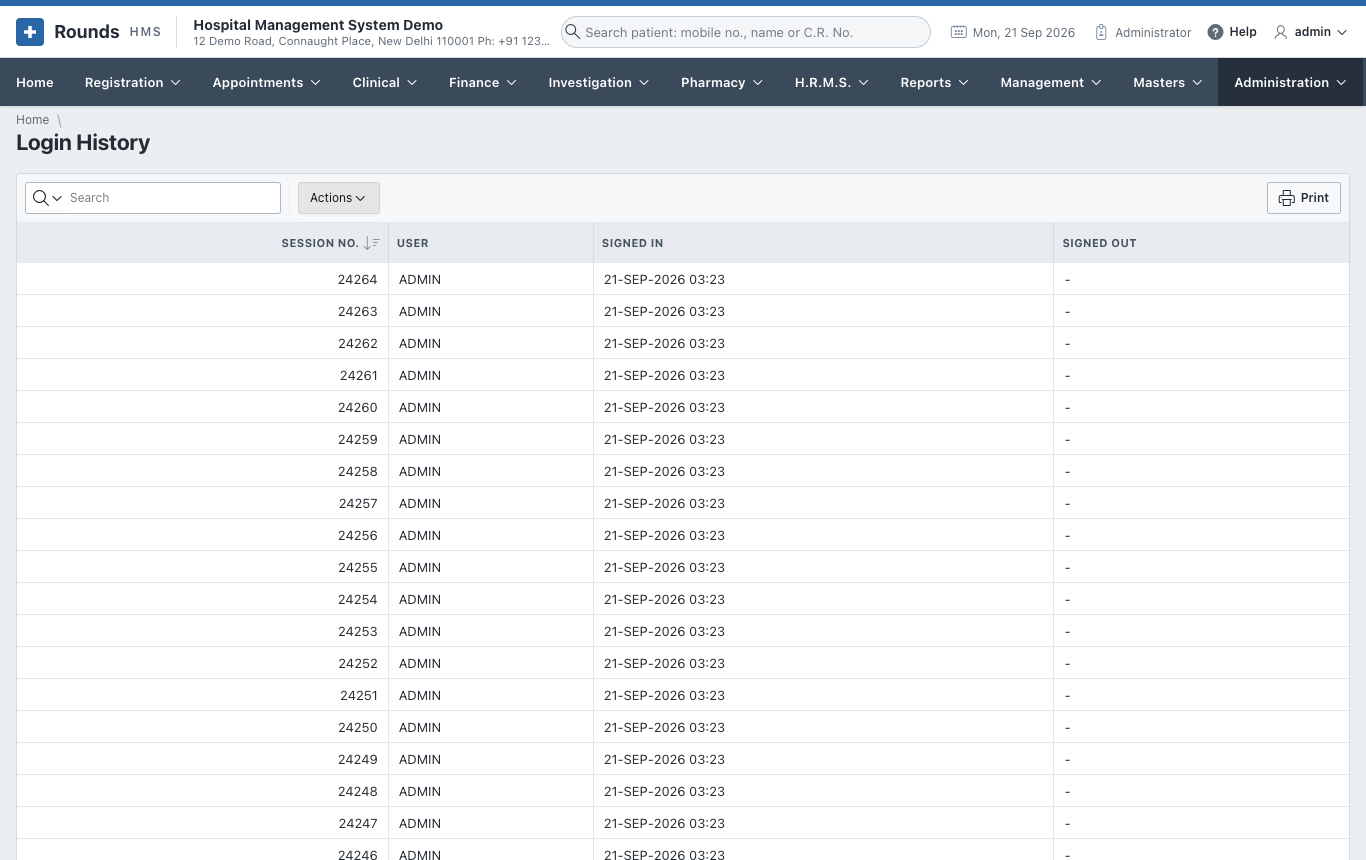
Administration > Login History lists every sign-in and sign-out: who and when.