Laboratory Settings
These screens are set up once, by the laboratory in charge.
Lab Test Settings
Investigation > Lab Test Settings lists every test the laboratory does. Open a test with its pencil:
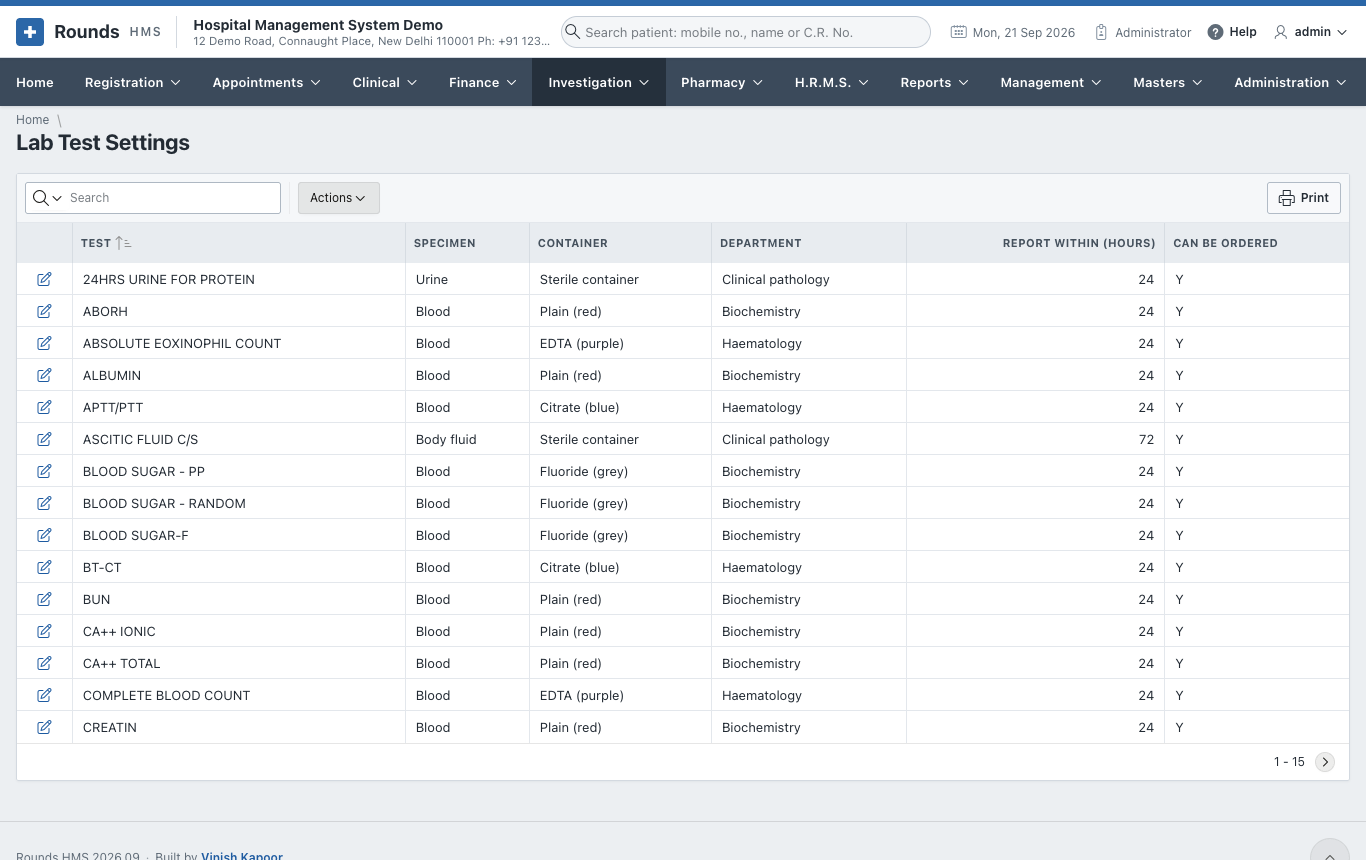
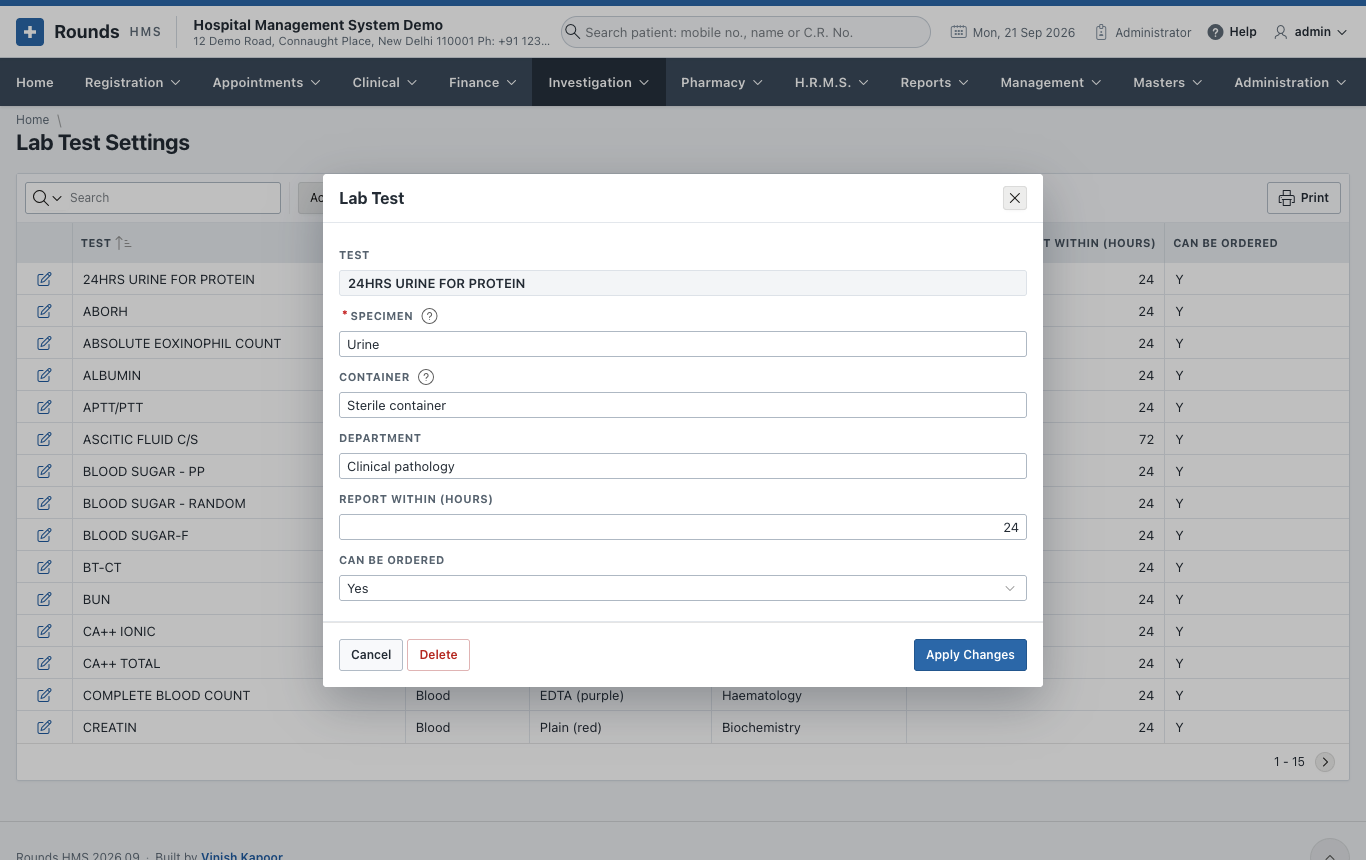
- Specimen (blood, urine ...) and Container (EDTA purple, plain red ...). Tests with the same specimen and container share one tube.
- Department (haematology, biochemistry ...), the Turnaround in hours, and Active.
The parameters of a test (e.g. the six values of a lipid profile) come from Masters > Pathology Test Formats.
Normal Ranges
Investigation > Normal Ranges gives each parameter its normal and critical limits. A parameter can have several ranges, by sex and age (for example, haemoglobin for men, for women, and for children).
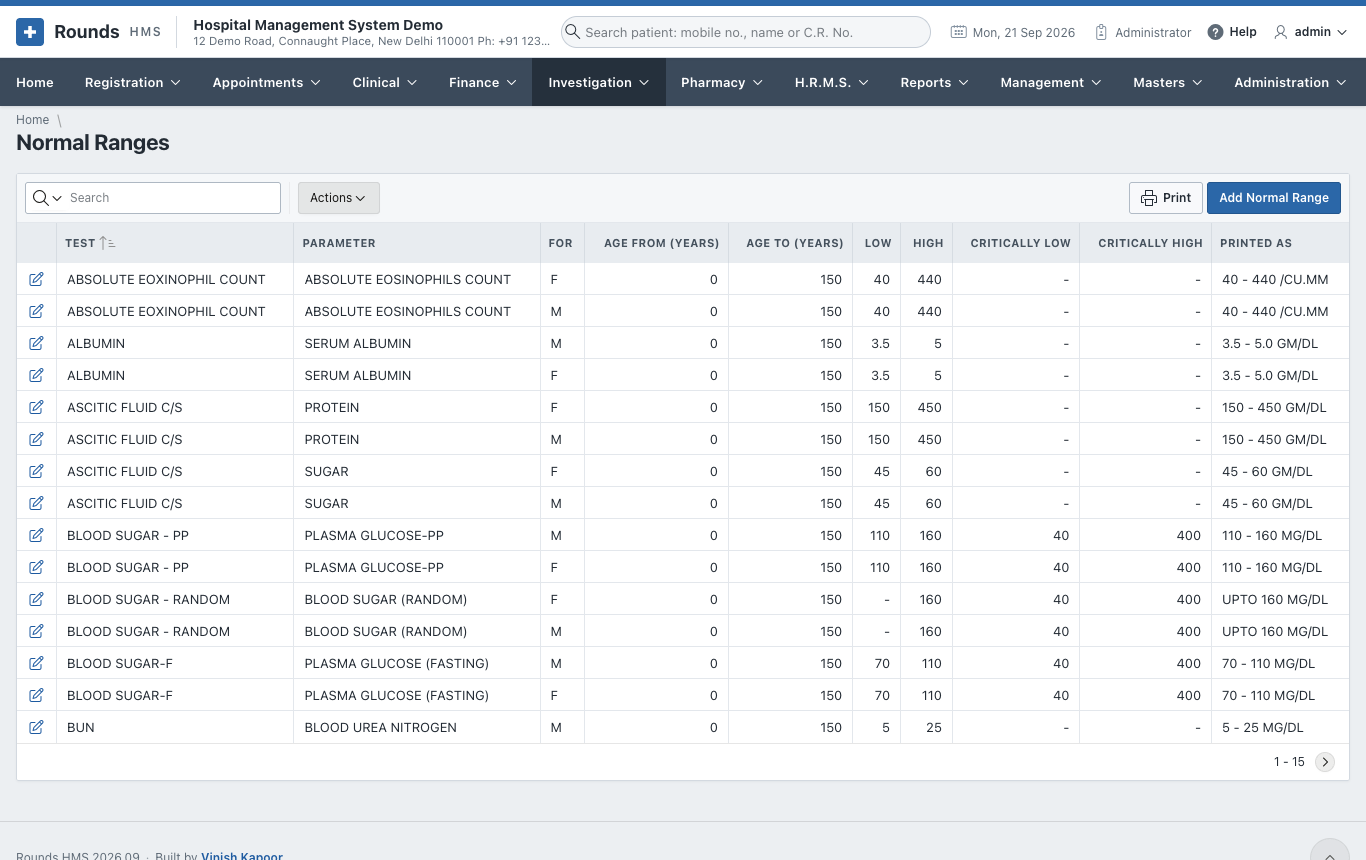
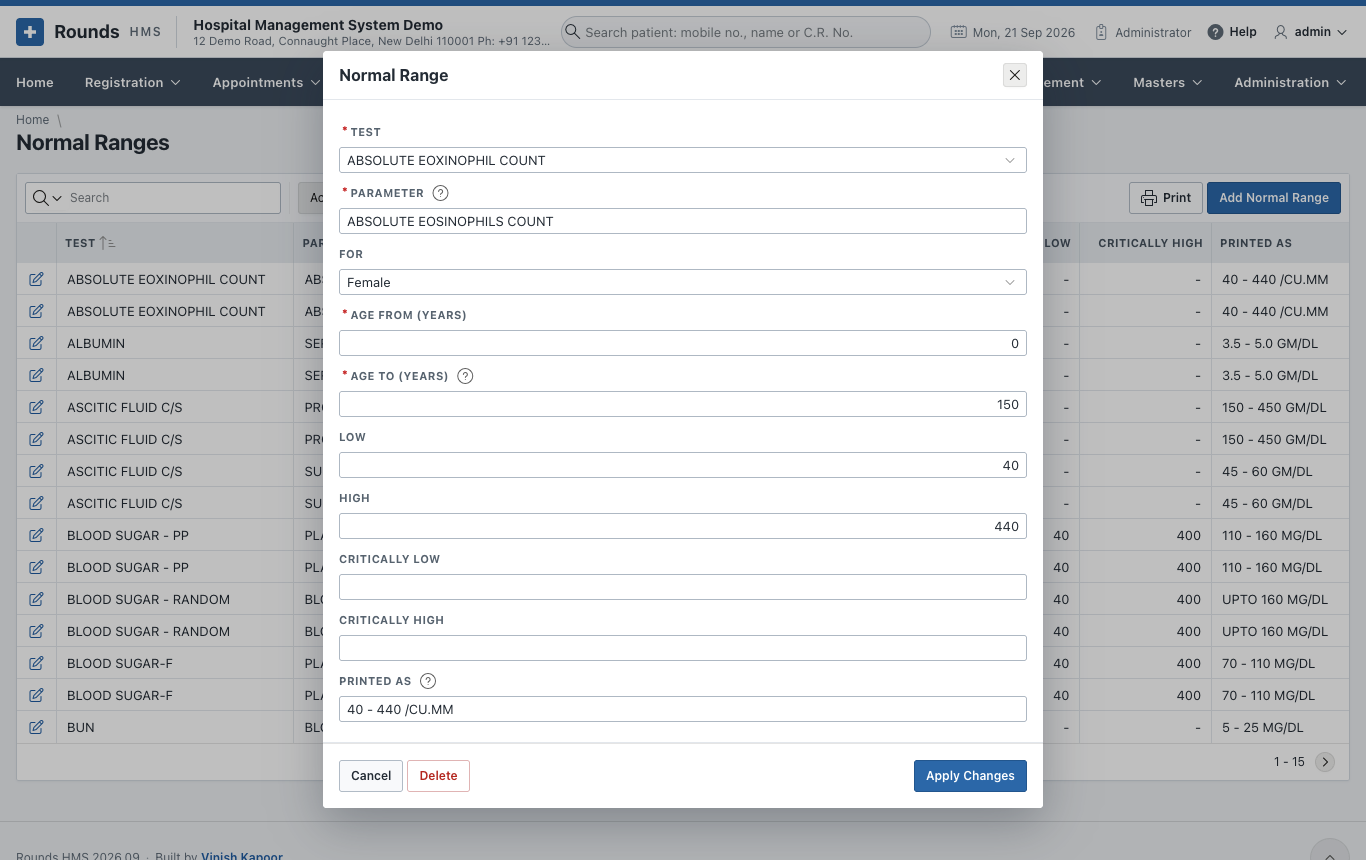
- Low and High: outside them, a result is flagged low or high.
- Critically Low and Critically High: outside them, the result is critical and shown on the Home page until verified.
- Normal Text: how the range is printed, e.g. 70 - 110 mg/dL.
When a result has no range here, the normal value written in the Pathology Test Format is used.
Analyser Codes
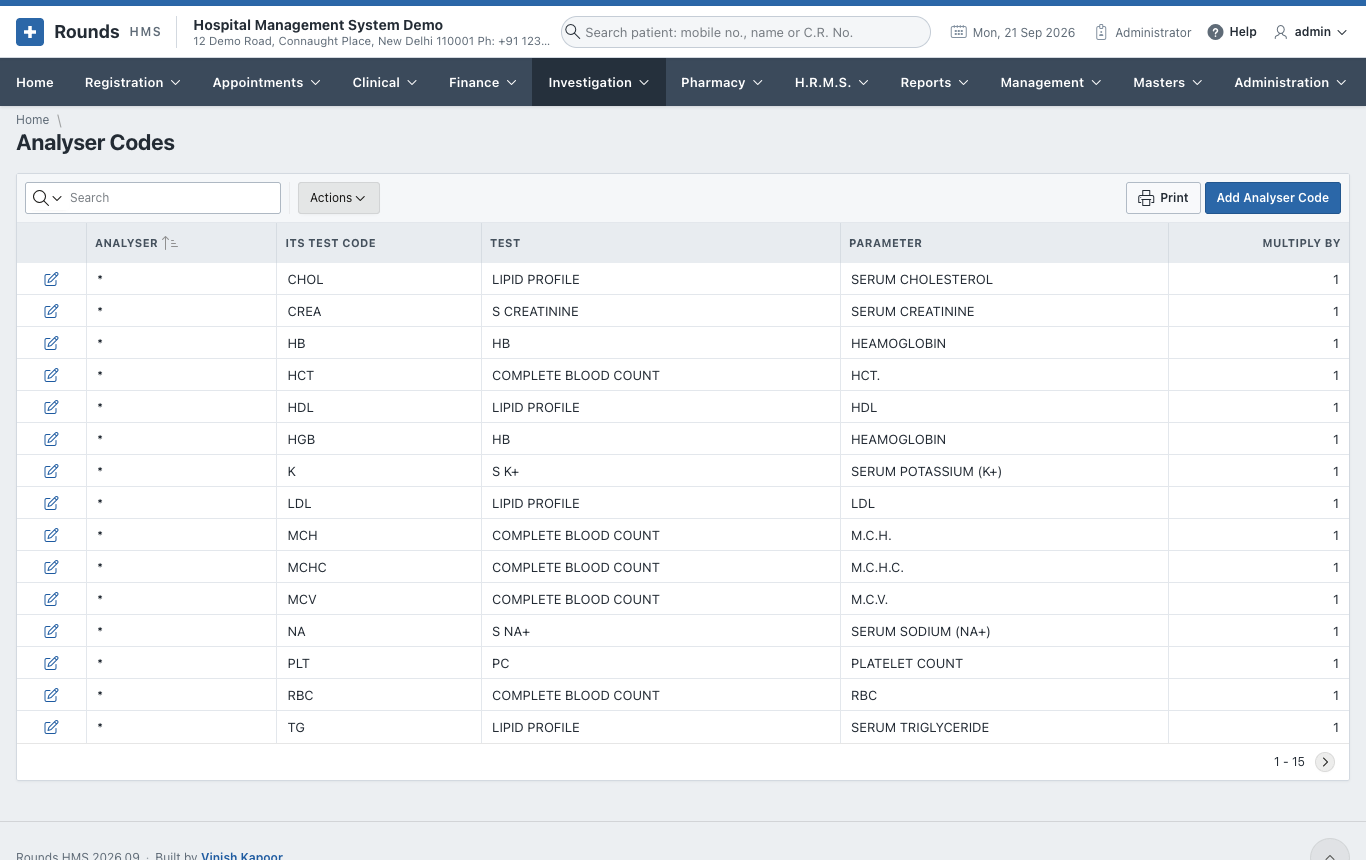
Investigation > Analyser Codes matches the code an analyser sends (e.g. GLU) to the laboratory's test and parameter (BLOOD SUGAR-F / PLASMA GLUCOSE). Add a code for every parameter each analyser reports.
Radiology Templates
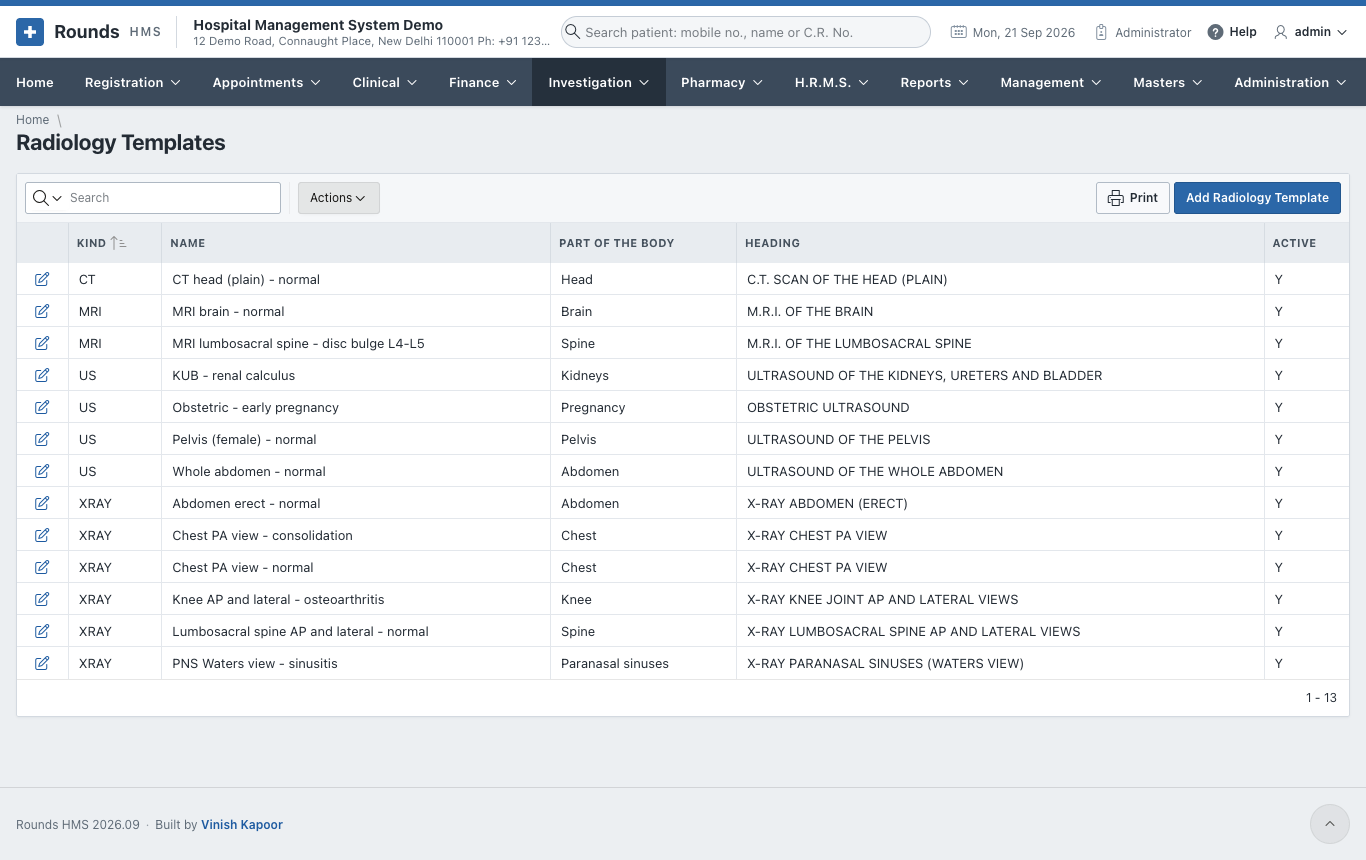
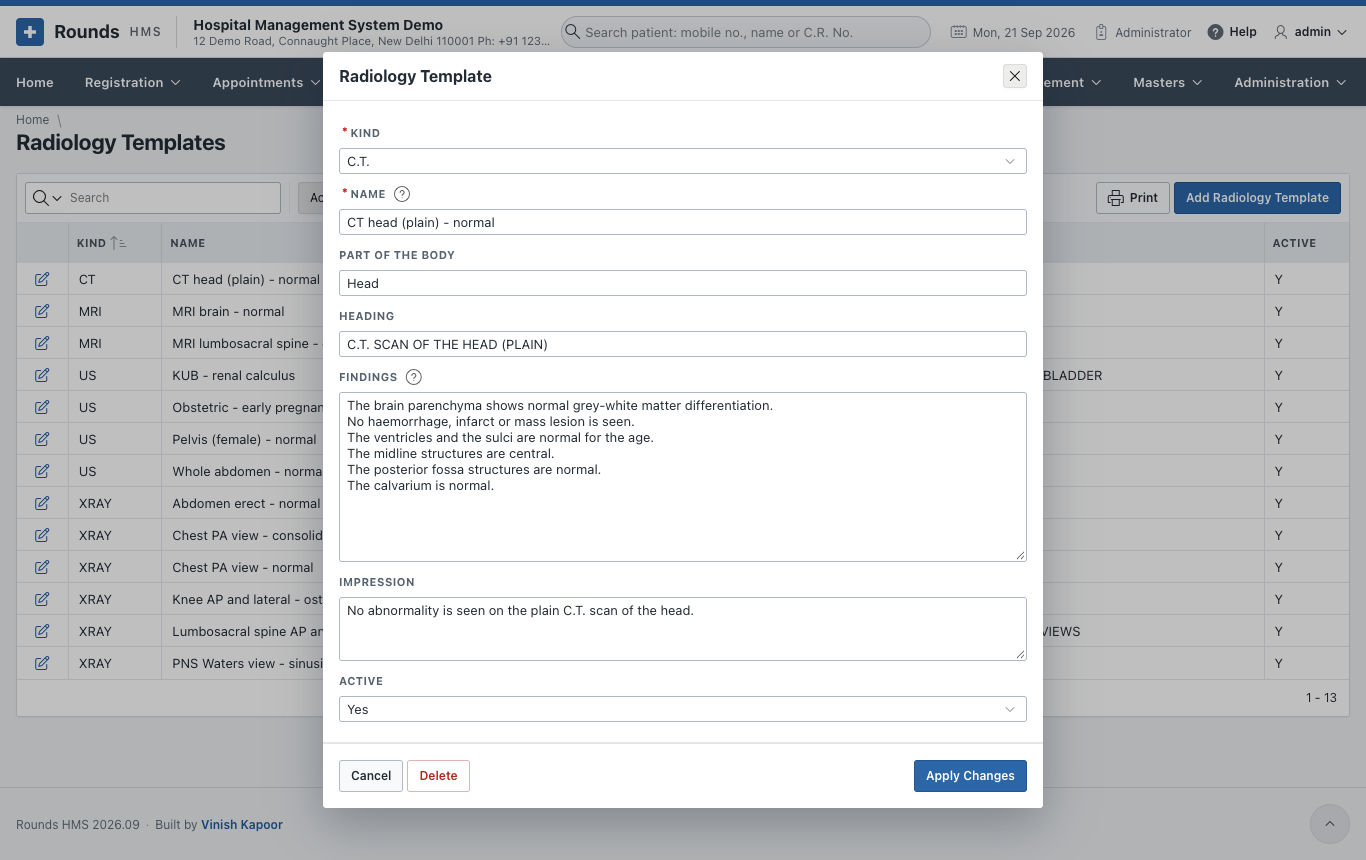
Investigation > Radiology Templates holds the ready-made report texts for X-ray, ultrasound, CT and MRI. A template has:
- its Modality and Name (e.g. Chest PA view - normal);
- the Body Part, Heading, Findings and Impression.
Radiologists start their reports from these.